Use an SD card or flash drive to install Ventoy
You will need to utilise Ventoy in order to be able to run both the GParted and the Windows 11 ISOs from one SD card without having to format it more than once. Things will be much more convenient as a result.
You must insert your flash drive or SD card into your PC and enter the Ventoy folder you previously extracted in order to install Ventoy on it. After that, choose Ventoy2Disk.exe.
Next, you’ll choose the storage medium on which you wish to keep Ventoy. For us, that would be the 32GB SD card. Press Install.
After installing Ventoy, transfer GParted, the Windows 11 ISO, and a folder that holds the Steam Deck’s Windows drivers. The SD card may now be inserted into the Steam Deck.
Open the Steam Deck Boot Manager
The device’s boot manager must then be used to boot from the SD card or flash drive that you’ve attached to the Steam Deck.
First, turn off your Steam Deck before proceeding. After turning it off, press and hold the power and volume down buttons until a chime sounds. Release the power button when the chime sounds, but hold down the volume down button until the boot manager appears, as seen in the illustration below.
After the chime, if you continue to hold down the power button, your Steam Deck will probably switch off again.
Once in the boot manager, choose the flash drive or SD card. This ought should display Ventoy along with the GParted and Windows ISOs.

Partition Your Internal SSD Using GParted
Now, you’ll have to partition the SSD on your Steam Deck. In the event that you fail to do so, you will probably be unable to install Windows 11 on the /home partition and will have to remove SteamOS from your disc.
You may also use Ventoy to erase all partitions and format the merged disc as NTFS or leave it unallocated if you only want Windows on your Steam Deck. But since SteamOS is by far the greatest method to use the Steam Deck, we don’t recommend it. Being able to alternate between the two is preferable to being limited to Windows.
To launch GParted on Ventoy, pick it. Normal mode is an option, however grub2 might be able to solve the problem if that doesn’t work.
Before you can begin partitioning, a few items will appear when GParted opens. The first thing you must do is choose the settings. Select GParted Live (Default Settings) as the first option.
After that, choose Don’t touch keymap and then language. We advise simply hitting A on the Steam Deck until you get to the main screen if you’re only going to utilise English.
At last, your SSD is prepared for partitioning. You may now connect your keyboard and mouse to make navigation simpler. Change it to your SSD using the drop-down option in the top right corner if it’s the only device visible, instead of your flash drive or SD card.
To divide your SSD, use a right-click (left trigger) on either the biggest or /home partition. Select Resize/Move and shift the right wall to the left, creating a new unallocated partition in the vacant area.
For Windows 11, we’re leaving around 250 GB, or roughly 250,000 MiB, in our instance. To make your modifications, click the Resize/Move button located on the bottom right.
Lastly, choose the toolbar’s green checkmark by clicking on it. Your partition adjustments won’t take effect if you forget to do this.
After that, depending on how large your SSD is, the programme will process the new partition sizes, which might take a few minutes. After it’s finished, you may power down and leave GParted by pressing the power button.
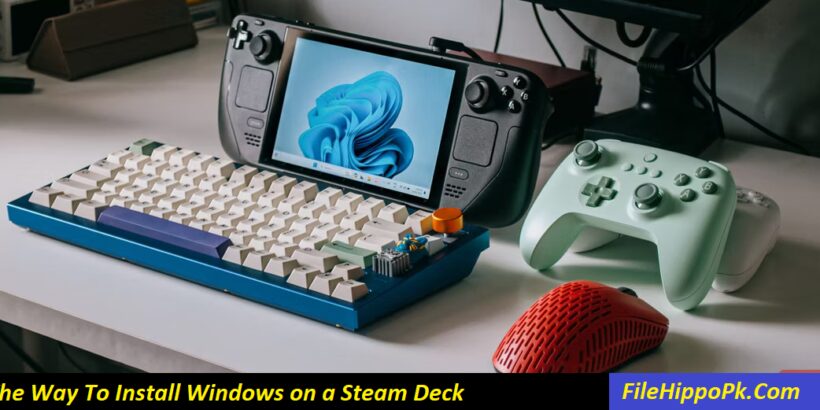
Configuring Windows 11 on the Steam Deck
Installing Windows on your Steam Deck is now possible. Remove all other previously used USB devices, save for the flash drive, before accessing the boot manager. This stops the Ventoy or the ISOs from breaking down.
Return to the boot manager by holding down the volume down and power buttons, then choose the SD card or flash drive once more. This time, choose the Windows 11 ISO while Ventoy is open.
Simply continue the setup, selecting the appropriate keyboard layout and language until you get to the Windows key area. If you don’t have a product key, you can safely select that option there.
Continue until you get the box asking where you wish to install Windows. To access Unallocated space, scroll all the way to the bottom and choose the disc with that name. After that, click New, and the appropriate size will be added automatically for you. Simply click Apply now.
After that, Windows will begin to install on that partition. After Windows 11 is installed, there will be more setup to do.
Set up the Steam Deck’s Windows drivers
Click on the Ventoy drive in File Explorer to accomplish this. Start with any of the Steam Deck drivers by opening the folder that you were instructed to put the drivers in.
Restarting at the prompt is not advised at this time. To make things easier, you can restart after installing all of the drivers.
Go ahead and choose Install for the remaining drivers; however, you could discover that the audio drivers lack an executable. Just do a right-click (left trigger) on the “Setup information” file and select “Install” to begin installing the two audio drivers.
Now that they’re all installed, launch Steam Deck again. If things didn’t go as planned, you can discover the problem and its remedy in the section below.
Possible Problems and Fixes When Fitting Windows for Your Steam Deck
ISOs Display a Grey Screen or Fail to Boot Up
To quit and shut down, simply click the power button once if the ISOs aren’t functioning properly. This is probably because you have a keyboard and mouse or other USB devices hooked into your Steam Deck. For this reason, throughout our installation, we utilised an SD card. Take out every USB device save for your flash drive; if at all feasible, use a USB-C flash drive.
You might also try erasing the other ISO from the SD card or flash drive if this doesn’t work. As a final option, you may also try reinstalling Ventoy, but be careful—this will format the disc, so make sure everything is in a folder you can just copy onto it.
The 0x80300001 error in Windows
If the partition you wish to install Windows on is either a blank unallocated partition or not in NTFS format, this error message will most likely appear.
It’s possible that you used GParted to create a new partition named ext4 rather than preserving the original unallocated partition. Make sure the new partition in GParted is in NTFS format rather than ext4 if you must create one.
Drivers Cannot Be Installed in Windows
Other USB devices may be interfering with the Windows installation if you’re almost done with it and it suddenly claims it can’t install drivers.
Holding down the power button will shut down your Steam Deck. Unplug all USB devices save your SD card and flash drive. To avoid this problem, disconnect all USB devices before beginning the installation.
SteamOS Is Not Visible in the Boot Manager
Shut down your Steam Deck and access the BIOS if you wish to return to SteamOS and can’t locate it in the boot manager.
Hold down the power and volume up buttons until the chime sounds in order to access the BIOS. Hold down the volume up button while releasing the power button to boot into the BIOS.
Choose Boot from file > eps > efi > steamos > steamcl.efi once you’re in the BIOS. You should now be able to launch SteamOS again.
You may return to the boot manager by going into desktop mode now that you’re in SteamOS.
To launch Konsole in desktop mode, click the Steam Deck symbol in the lower left corner. By clicking on the text box and using the Steam button + X to bring up the keyboard, you may search for it.
Then type:
sudo efibootmgr -c -L "SteamOS" -l "\EFI\steamos\steamcl.efi" -d /dev/nvme0n1p1If you are unable to add the command because you do not have a sudo account, select Settings > Users and provide a username and password. After hitting Enter, you may try entering the same command to Konsole and adding your password. After that, your boot choices will appear.
It is now in your boot manager if you can see steamcl.efi with an asterisk next to its boot order number. By turning off your Steam Deck and navigating to the boot manager, you can confirm it.
Windows-Based Steam Deck Navigation and Controls
Open Steam and download it if you’re having trouble using the Steam Deck controls on Windows and would prefer to utilise them as on SteamOS.
To enable Steam Input for Xbox Controllers, navigate to Steam > Settings > Controller. Then, much as in SteamOS, you ought to be able to utilise both trackpads. You may also alter it on the Non-game controller layouts by scrolling down to customise it.
The Steam Deck is an extremely flexible gadget since it functions as a full-featured PC in addition to a gaming device. After installing Windows, you may use it for more involved tasks like editing photos and videos, just like you would with a desktop computer.